
Conveyor belts are essential components in various industries, enabling the efficient transportation of goods and materials. However, over time, conveyor belts can experience wear and tear, resulting in damage or malfunction. Timely repairs are crucial to maintain the productivity and functionality of conveyor systems. In this guide, we will explore step-by-step instructions on how to repair a conveyor belt effectively.
Assess the Damage
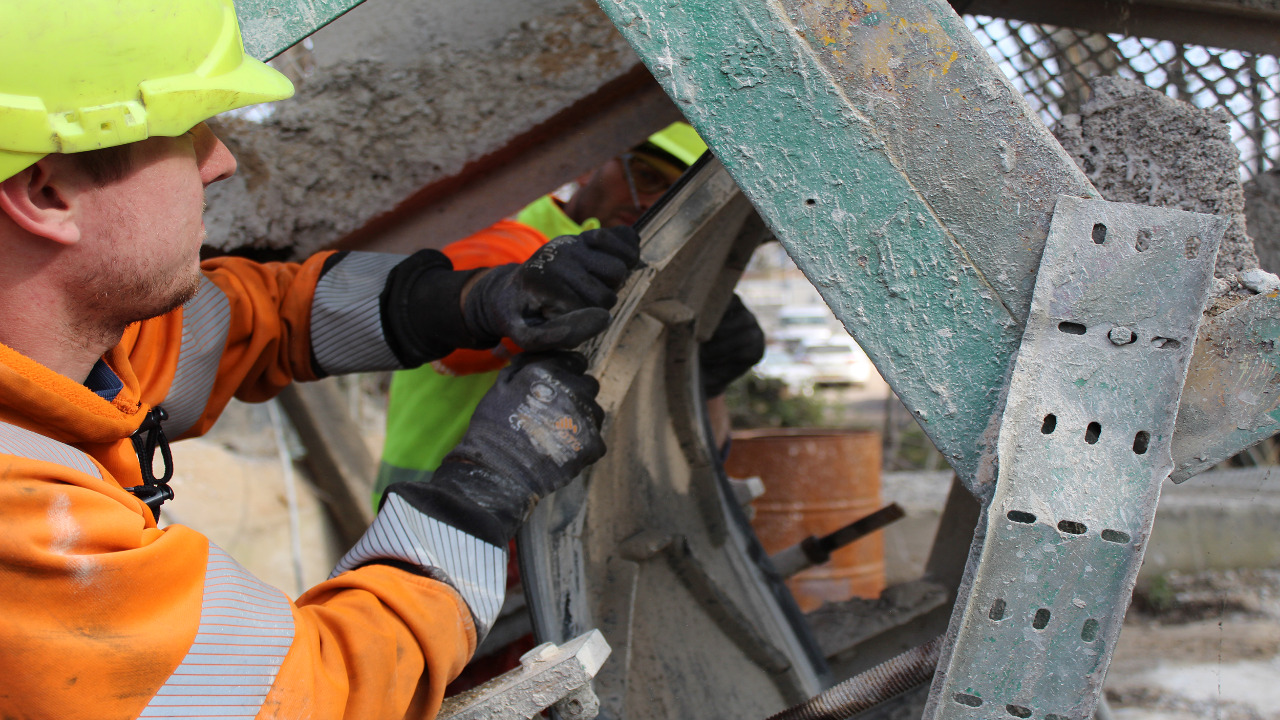
Before starting the repair process, it is essential to assess the extent of damage to the conveyor belt. Inspect the entire length of the belt, including the splices, edges, and surface. Look for signs of fraying, cuts, tears, or damaged fasteners. Identifying the specific issues will help determine the appropriate repair technique. If you feel you are not able to repair your conveyor belt yourself, you should hire a conveyor belt repair company.
Gather the Necessary Tools and Materials
To successfully repair a conveyor belt, gather the required tools and materials. Commonly used tools include pliers, a utility knife, a belt skiver, a belt clamp, and a belt splice kit. Additionally, ensure you have appropriate safety equipment such as gloves and eye protection.
Prepare the Work Area
Create a safe and well-lit work environment for the repair process. Clear any debris or obstructions around the conveyor belt. Make sure the equipment is turned off and locked out to prevent any accidental activation during the repair.
Temporary Repair
For minor damage or temporary fixes, use a repair patch or rubber cement to seal small cuts or punctures. Clean the damaged area thoroughly and apply the patch or cement according to the manufacturer’s instructions. Allow it to dry completely before proceeding.
Splice Repair
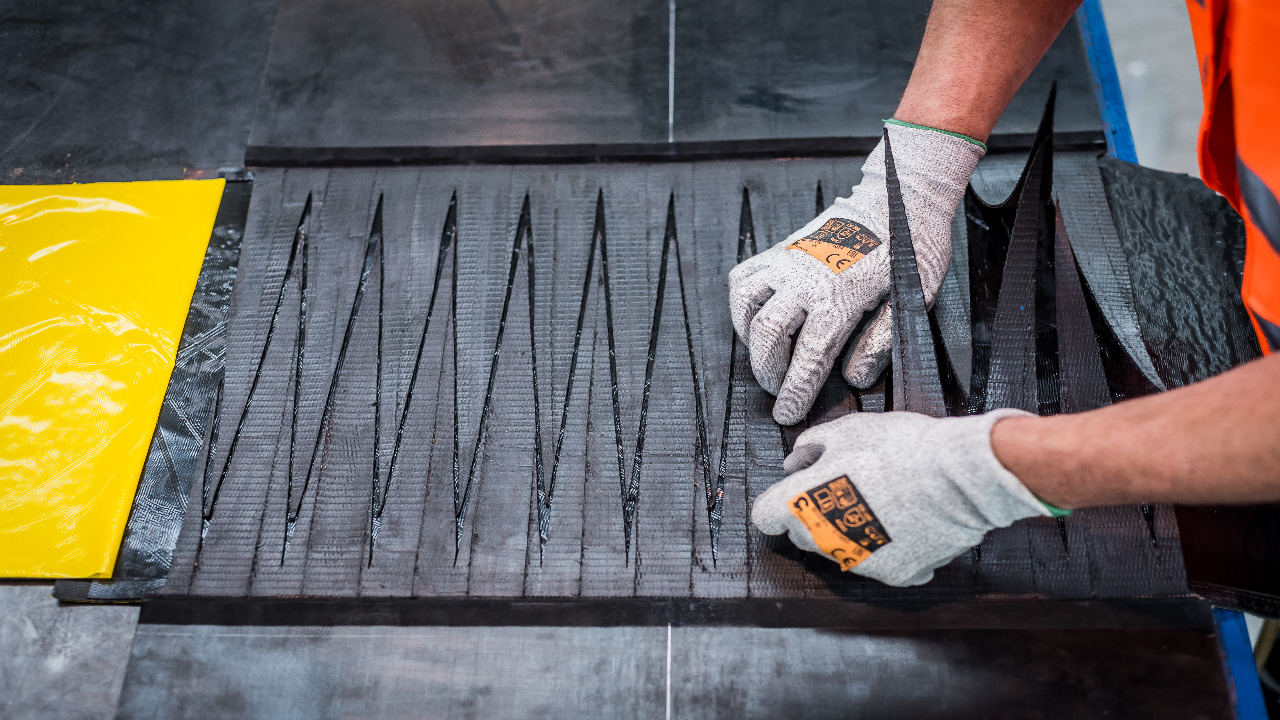
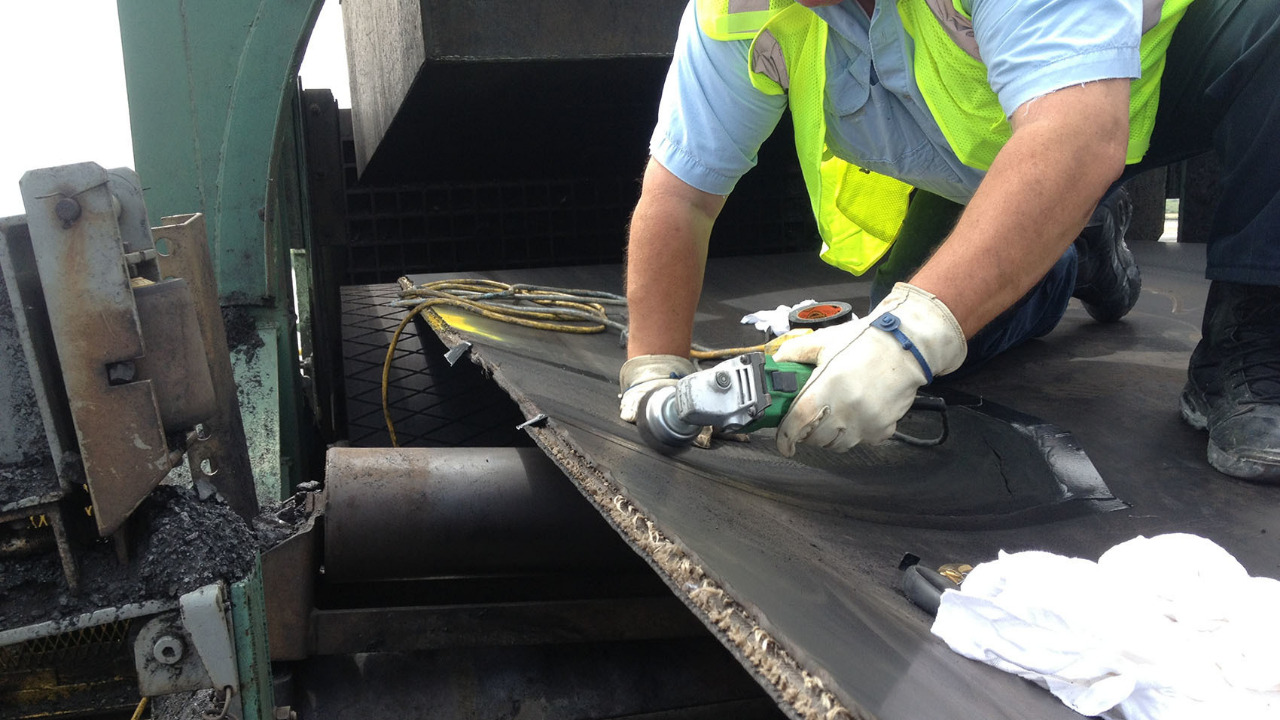
For larger or more significant damage, a splice repair is often necessary. Begin by cutting out the damaged portion of the belt using a utility knife or belt skiver, following a straight line or a bias cut. Ensure the edges of the belt are clean and straight for a proper splice.
Prepare the Splice Area
Apply a belt cleaner or solvent to the remaining belt ends to remove any dirt, debris, or adhesive residue. Use a belt skiver to remove the top cover of the belt and expose the carcass for a proper splice. Trim any loose or frayed fabric to create a smooth and even surface.
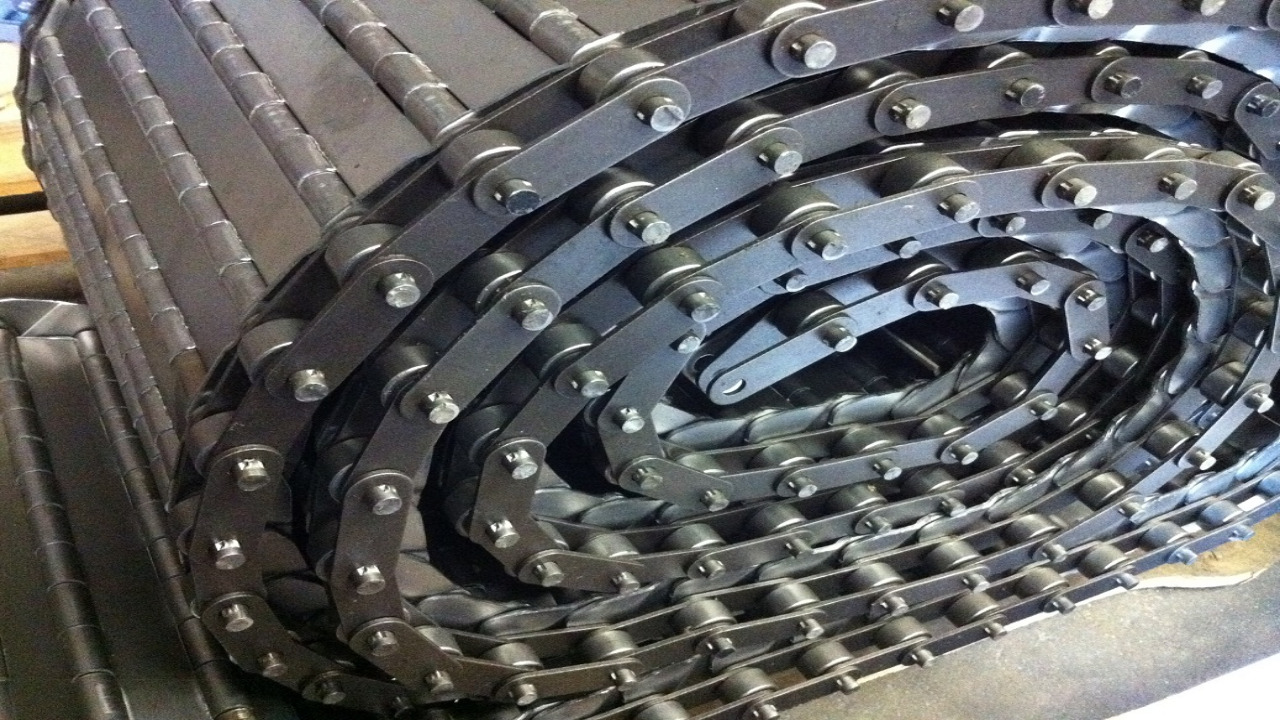
Splice the Belt
Refer to the manufacturer’s instructions or consult with an expert to determine the appropriate splice method for your belt type. This could include a mechanical fastener splice or a vulcanized splice. Follow the instructions carefully to ensure a secure and durable connection.
Allow for Proper Curing
If you perform a vulcanized splice, allow the belt to cure according to the manufacturer’s specifications. This typically involves applying heat and pressure to bond the splice materials. Avoid any stress on the repaired area during the curing process.
Test and Inspect
After the repair is complete and the belt has cured, test the conveyor system to ensure the repair was successful. Run the belt empty to check for proper tracking, alignment, and smooth operation. Inspect the splice area for any signs of weakness or damage.
Ongoing Maintenance
To extend the lifespan of your conveyor belt and minimize the need for future repairs, establish a regular maintenance routine. This includes cleaning the belt, checking for signs of wear, and promptly addressing any minor issues before they escalate.
Conclusion
Repairing a conveyor belt requires careful assessment, preparation, and execution. By following these step-by-step instructions, you can effectively repair minor and major damages, ensuring the continued functionality and efficiency of your conveyor system. Remember to prioritize safety, use the appropriate tools and materials, and consider consulting with professionals when dealing with extensive or complex repairs.